Pointed Acrylics: A Sharp Guide to Achieving the Perfect Stiletto Nail
Pointed acrylics, often referred to as stiletto nails, are a bold and fashionable choice for those looking to make a statement. This definitive guide explores everything you need to know about achieving and maintaining the perfect pointed acrylics, from understanding the different types of pointed shapes to the application process and aftercare tips. Whether you’re a seasoned nail technician or a DIY enthusiast, this comprehensive resource will provide you with the knowledge and inspiration to rock this edgy and elegant nail style.
Understanding Pointed Nail Shapes
Before diving into the application process, it’s crucial to understand the nuances of pointed nail shapes. While the term ‘pointed acrylics’ is often used generically, several variations exist. The most common type is the stiletto nail, characterized by its dramatic, sharp point. However, you might also encounter almond-shaped nails, which are more rounded but still taper to a point, offering a slightly softer look. Coffin or ballerina nails, while not strictly pointed, feature a tapered shape that ends in a flattened tip, providing a modern and stylish alternative. The choice depends on your personal preference and the overall aesthetic you want to achieve with your pointed acrylics.
Stiletto Nails: The Classic Point
Stiletto nails are the quintessential pointed acrylics. They are long, slender, and come to a distinct point, resembling the heel of a stiletto shoe. This shape elongates the fingers and creates a dramatic, glamorous look. However, due to their length and sharpness, stiletto nails are not always practical for everyday tasks. They require careful maintenance and are best suited for special occasions or individuals who are accustomed to wearing long nails.
Almond Nails: A Softer Approach
Almond-shaped nails offer a more subtle take on the pointed trend. They are tapered on the sides and come to a rounded point, resembling the shape of an almond. This shape is more durable than stiletto nails and is a good option for those who want a pointed look without the extreme length and sharpness. Almond nails are versatile and can be dressed up or down, making them suitable for both casual and formal settings. Many people choose almond shapes for their pointed acrylics because they are more manageable.
Coffin/Ballerina Nails: The Modern Twist
Coffin or ballerina nails, also known as tapered square nails, feature a tapered shape that ends in a flattened tip, resembling a coffin or a ballerina slipper. While not strictly pointed, they offer a similar elongating effect and a modern, edgy look. Coffin nails are a popular choice for those who want a statement nail shape that is both stylish and relatively durable. They provide a larger surface area for nail art and are a great canvas for creative designs. Many consider this a variation of pointed acrylics.
Applying Pointed Acrylics: A Step-by-Step Guide
Applying pointed acrylics requires precision and patience. Whether you’re a professional nail technician or attempting a DIY application, following these steps will help you achieve the best results:
- Preparation: Start by sanitizing your hands and prepping your natural nails. Gently push back the cuticles and buff the surface of the nails to remove any shine. This will help the acrylic adhere properly.
- Tip Application: Choose acrylic tips that are the correct size for your nails. Apply a small amount of nail glue to the tip and carefully adhere it to your natural nail. Hold it in place for a few seconds until the glue is dry. Trim and shape the tips to your desired pointed shape.
- Acrylic Application: Mix the acrylic powder and liquid monomer according to the manufacturer’s instructions. Using an acrylic brush, apply a thin layer of acrylic to the entire nail, blending it seamlessly with the natural nail and the tip. Build up the acrylic in thin layers, allowing each layer to dry before applying the next. Pay close attention to the apex (the highest point of the nail), ensuring it is properly shaped to create a strong and balanced structure.
- Shaping and Filing: Once the acrylic is completely dry, use a nail file to refine the shape of the pointed nails. File the sides to create a smooth, even taper and sharpen the point to your desired level. Be careful not to file too aggressively, as this can weaken the acrylic and cause it to break.
- Buffing and Smoothing: Use a buffing block to smooth out any imperfections on the surface of the acrylic. This will create a smooth, even canvas for your nail polish or nail art.
- Finishing Touches: Apply a top coat to seal the acrylic and add shine. You can also add nail polish, glitter, or other embellishments to customize your pointed acrylics.
Maintaining Your Pointed Acrylics
Pointed acrylics, especially stiletto nails, require regular maintenance to keep them looking their best. Here are some tips to help you maintain your pointed nails:
- Regular Fills: As your natural nails grow, you’ll need to get regular fills to maintain the shape and strength of your acrylics. Schedule fills every 2-3 weeks, depending on how quickly your nails grow.
- Avoid Excessive Length: While long pointed nails can be stunning, they are also more prone to breakage. Consider keeping your nails at a manageable length to reduce the risk of damage.
- Use Gloves: When doing household chores or working with your hands, wear gloves to protect your acrylics from harsh chemicals and physical damage.
- Moisturize Regularly: Keep your hands and cuticles moisturized to prevent dryness and cracking. Use a cuticle oil or hand cream several times a day.
- Be Careful: Be mindful of your nails when performing everyday tasks. Avoid using your nails as tools and be careful not to bump or snag them.
Design Ideas for Pointed Acrylics
The sharp shape of pointed acrylics provides a unique canvas for nail art and design. Here are some popular design ideas to inspire you:
- Solid Colors: A classic solid color can be a striking choice for pointed nails. Choose a bold, vibrant hue to make a statement or opt for a neutral shade for a more sophisticated look.
- Ombre: Ombre nails, featuring a gradual transition from one color to another, are a popular choice for pointed acrylics. This technique creates a visually appealing effect that accentuates the shape of the nails.
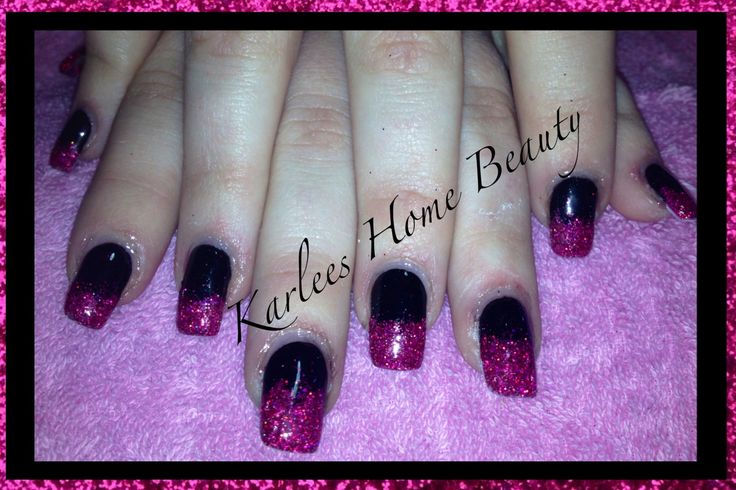
- Glitter: Add some sparkle to your pointed nails with glitter. You can apply glitter to the entire nail or create a glitter accent, such as a glitter fade or a glitter cuticle.
- Nail Art: The possibilities for nail art on pointed acrylics are endless. From intricate floral designs to geometric patterns, you can create a unique and personalized look that reflects your individual style. Consider using nail stickers, stamping plates, or freehand painting to achieve your desired design.
- French Manicure: A classic French manicure can also look stunning on pointed nails. Update the traditional design by using a colored tip or adding a glitter accent.
- 3D Embellishments: Add dimension to your pointed nails with 3D embellishments, such as rhinestones, pearls, or charms. These embellishments can add a touch of glamour and sophistication to your overall look.
Choosing the Right Products for Pointed Acrylics
Selecting high-quality products is essential for achieving and maintaining beautiful pointed acrylics. Here are some key products to consider:
- Acrylic Powder and Liquid Monomer: Choose a reputable brand that offers a consistent and reliable formula. Look for products that are easy to work with and provide good adhesion and durability.
- Acrylic Brush: Invest in a high-quality acrylic brush that is specifically designed for applying acrylics. A good brush will help you achieve a smooth, even application and prevent bubbles or streaks.
- Nail Glue: Select a strong and fast-drying nail glue that will securely adhere the acrylic tips to your natural nails.
- Nail Files and Buffers: Use a variety of nail files and buffers to shape and smooth the acrylics. Choose files with different grits to achieve the desired level of refinement.
- Top Coat: A good top coat will seal the acrylic and add shine, protecting it from chipping and fading.
Conclusion
Pointed acrylics are a stylish and eye-catching choice for those who want to make a statement with their nails. By understanding the different types of pointed shapes, following the proper application techniques, and maintaining your nails with care, you can achieve a flawless and long-lasting look. Whether you opt for classic stiletto nails or a more subtle almond shape, pointed acrylics are sure to turn heads and elevate your overall style. Remember to choose high-quality products and take your time during the application process to ensure the best results. With a little practice and patience, you can master the art of pointed acrylics and enjoy the confidence and glamour that they bring. [See also: Different Nail Shapes and What They Say About You] [See also: The Ultimate Guide to Acrylic Nail Application] [See also: How to Properly Care for Your Acrylic Nails]

