Mastering Henna: A Comprehensive Guide on How to Make Henna Tattoo Paste
Henna tattoos, also known as mehndi, are a beautiful and temporary form of body art that has been practiced for centuries. Originating in South Asia, the Middle East, and Africa, henna has evolved from a traditional ritual to a popular form of self-expression worldwide. The key to a stunning and long-lasting henna tattoo lies in the quality of the henna paste. Knowing how to make henna tattoo paste from scratch allows you to control the ingredients, ensuring a safe and vibrant result. This guide provides a detailed, step-by-step process on how to make henna tattoo paste, covering everything from selecting the right ingredients to achieving the perfect consistency.
Understanding Henna and Its Properties
Before diving into the process of how to make henna tattoo paste, it’s essential to understand what henna is and how it works. Henna is a dye prepared from the plant *Lawsonia inermis*, also known as the henna tree. The leaves of the henna plant contain lawsone, a reddish-orange pigment that binds to the protein in skin, resulting in a temporary stain. The darkness of the stain depends on factors such as the quality of the henna powder, the skin’s pH level, and the duration the paste remains in contact with the skin.
Commercially available henna products can sometimes contain harmful chemicals that can cause allergic reactions or permanent scarring. Therefore, learning how to make henna tattoo paste using natural ingredients is not only a rewarding experience but also a safer alternative.
Essential Ingredients for Henna Paste
To create high-quality henna paste, you’ll need the following ingredients:
- Henna Powder: Use pure, natural henna powder specifically intended for body art. Avoid henna intended for hair, as it may contain additives that are harmful to the skin. Look for finely sifted powder that is greenish-brown in color.
- Liquid: The liquid helps activate the dye in the henna powder. Common options include lemon juice, strong black tea, or distilled water. Lemon juice is a popular choice due to its acidity, which helps release the dye more effectively.
- Essential Oils: Certain essential oils, particularly those containing monoterpenes, enhance the staining properties of henna. Tea tree oil, cajeput oil, and lavender oil are excellent choices. These oils also add a pleasant aroma to the paste.
- Sugar: Sugar helps create a smooth and creamy paste that adheres well to the skin. It also keeps the paste moist, allowing for better dye release.
Step-by-Step Guide: How to Make Henna Tattoo Paste
Follow these steps carefully to create your own professional-grade henna paste:
Gather Your Supplies
Before you start, make sure you have all the necessary tools and ingredients:
- A glass or stainless steel bowl (avoid plastic, as it can react with the essential oils)
- A wooden or stainless steel spoon or spatula
- Measuring cups and spoons
- Henna powder (approximately 100 grams for a large batch)
- Lemon juice (or your chosen liquid)
- Essential oil (tea tree, cajeput, or lavender)
- Sugar
- Plastic wrap or an airtight container
Sift the Henna Powder
Sifting the henna powder is crucial to remove any clumps or impurities that could affect the texture of the paste. Use a fine-mesh sieve to sift the henna powder into your mixing bowl. This ensures a smooth and consistent paste.
Mix the Liquid and Henna Powder
Gradually add the lemon juice (or your chosen liquid) to the sifted henna powder. Start with a small amount of liquid and mix thoroughly with your spoon or spatula. Continue adding liquid until the mixture resembles a thick, lumpy batter. Avoid adding too much liquid at once, as this can result in a runny paste. The consistency should be similar to mashed potatoes.
Add Essential Oil and Sugar
Once you’ve achieved the desired consistency, add the essential oil. A general guideline is to use about 5-10 ml of essential oil per 100 grams of henna powder. Add the oil drop by drop, mixing well after each addition. Next, add about one teaspoon of sugar to the mixture. The sugar will help the paste adhere to the skin and keep it moist.
Knead the Paste
Kneading the paste is an important step to ensure all the ingredients are well combined and the paste is smooth. Use your spoon or spatula to knead the paste for several minutes. This helps break down any remaining clumps and creates a uniform texture.
Cover and Dye Release
Cover the bowl tightly with plastic wrap or transfer the paste to an airtight container. This prevents the paste from drying out and allows the dye to release properly. The dye release process typically takes 12-24 hours at room temperature (around 70-75°F or 21-24°C). The ideal temperature may vary slightly depending on the henna powder and the ambient temperature.
Check for Dye Release
After the recommended dye release time, check the paste for dye release. To do this, press a small amount of paste against your palm for a few minutes and then wipe it away. If the paste leaves an orange stain on your skin, it means the dye has released and the paste is ready to use. If the stain is faint or non-existent, allow the paste to sit for a few more hours and check again.
Adjust Consistency if Needed
If the paste has become too thick during the dye release process, you can add a small amount of liquid to adjust the consistency. Mix well until you achieve a smooth, creamy texture that is easy to apply.
Strain the Paste (Optional)
For an even smoother paste, you can strain it through a nylon stocking or a fine mesh strainer. This removes any remaining clumps or particles, resulting in a paste that is easier to apply with a cone or applicator bottle.
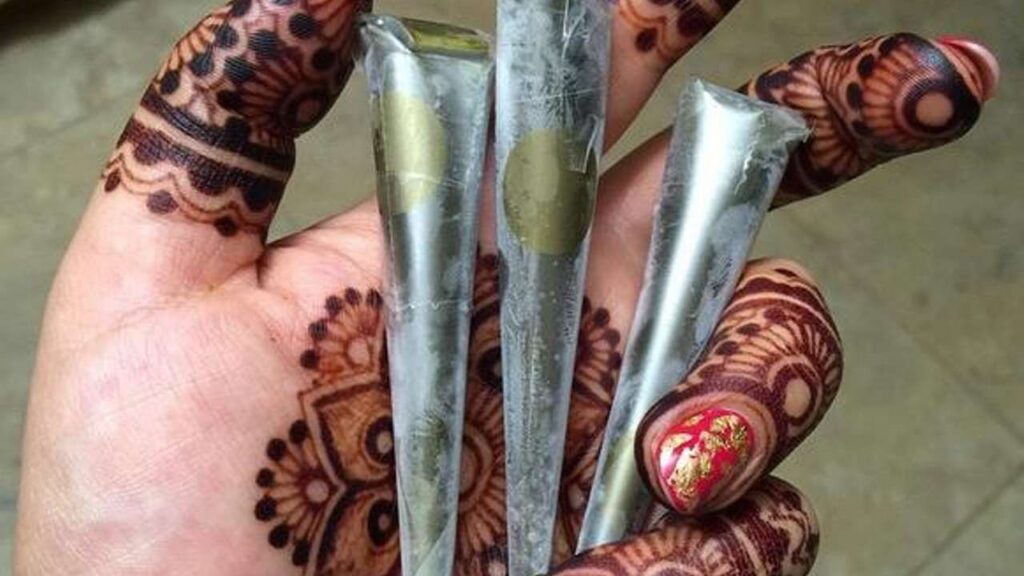
Fill Your Applicator
Once the paste is ready, fill your applicator cone or bottle. Make sure to seal the cone or bottle tightly to prevent the paste from drying out.
Tips for a Perfect Henna Stain
Achieving a dark and long-lasting henna stain requires careful attention to detail. Here are some tips to help you get the best results:
- Use High-Quality Henna Powder: The quality of the henna powder is the most important factor in determining the darkness of the stain. Always use pure, natural henna powder specifically intended for body art.
- Proper Dye Release: Allow the henna paste to sit for the recommended dye release time. This ensures that the dye is fully activated and ready to stain the skin.
- Apply to Clean, Exfoliated Skin: Before applying the henna, make sure your skin is clean and free of oils, lotions, or makeup. Exfoliating the skin can also help improve the stain.
- Keep the Paste Moist: While the henna paste is on your skin, keep it moist by applying a mixture of lemon juice and sugar. This helps prevent the paste from drying out and cracking.
- Keep the Henna on for as Long as Possible: For the darkest stain, leave the henna paste on your skin for as long as possible, ideally 4-6 hours or even overnight.
- Avoid Water: After removing the henna paste, avoid washing the area with soap and water for at least 12-24 hours. Water can interfere with the oxidation process, which is essential for developing the stain.
- Apply Natural Oils: After removing the paste and avoiding water, apply a natural oil such as coconut oil or olive oil to the area. This helps moisturize the skin and protect the stain.
Troubleshooting Common Issues
Even with careful preparation, you may encounter some issues when making henna paste. Here are some common problems and their solutions:
- Paste is Too Runny: If your paste is too runny, add a small amount of henna powder and mix well.
- Paste is Too Thick: If your paste is too thick, add a small amount of liquid (lemon juice or water) and mix well.
- No Dye Release: If your paste doesn’t release dye after the recommended time, try placing it in a warmer location or adding a bit more lemon juice.
- Uneven Stain: An uneven stain can be caused by applying the paste unevenly or not keeping it moist enough. Make sure to apply the paste smoothly and keep it moist while it’s on your skin.
Safety Precautions
While natural henna is generally safe, it’s important to take certain precautions:
- Avoid “Black Henna”: Black henna is not natural and often contains a chemical dye called paraphenylenediamine (PPD), which can cause severe allergic reactions and permanent scarring. Only use natural henna powder.
- Patch Test: Before applying henna to a large area of your skin, perform a patch test. Apply a small amount of paste to a discreet area, such as your inner arm, and wait 24 hours to see if you have any reaction.
- Consult a Professional: If you have sensitive skin or a history of allergic reactions, consult a professional henna artist or dermatologist before using henna.
Alternatives to Lemon Juice
While lemon juice is a common and effective ingredient in henna paste, some individuals may find it irritating to their skin. Here are some alternatives you can use:
- Strong Black Tea: Brew a strong cup of black tea and let it cool completely before using it as the liquid in your henna paste. Black tea contains tannins that can help enhance the stain.
- Distilled Water: Distilled water is a gentle alternative to lemon juice and is suitable for individuals with sensitive skin.
- Lime Juice: Lime juice is similar to lemon juice and can be used in the same way. However, it may be slightly more acidic, so use it sparingly.
Conclusion
Learning how to make henna tattoo paste is a rewarding skill that allows you to create beautiful and safe body art. By following these steps and tips, you can create your own professional-grade henna paste and achieve stunning, long-lasting results. Remember to always use high-quality ingredients, take safety precautions, and experiment with different techniques to find what works best for you. With practice and patience, you’ll be creating intricate and captivating henna designs in no time. Knowing how to make henna tattoo paste ensures you control the ingredients and avoid harmful chemicals. This guide on how to make henna tattoo paste provides all the information needed for success. Understanding how to make henna tattoo paste empowers you to create beautiful, temporary body art safely. Mastering how to make henna tattoo paste opens a world of creative possibilities. The process of how to make henna tattoo paste is both art and science. Always prioritize safety when learning how to make henna tattoo paste. The art of how to make henna tattoo paste has a rich history. This comprehensive guide on how to make henna tattoo paste is designed for both beginners and experienced artists. Explore the possibilities of how to make henna tattoo paste and create unique designs. Understanding the nuances of how to make henna tattoo paste will elevate your henna art.
[See also: Henna Tattoo Aftercare Tips]
[See also: The History and Cultural Significance of Henna]
[See also: Different Henna Tattoo Designs and Their Meanings]

