How to Glaze a Finished Acrylic Painting: A Comprehensive Guide
Acrylic glazing is a versatile technique that allows artists to add depth, luminosity, and subtle color variations to their finished acrylic paintings. By applying thin, transparent layers of paint, you can create stunning visual effects that enhance the overall artwork. This comprehensive guide will walk you through the process of how to glaze a finished acrylic painting, covering everything from preparing your painting to applying the final protective layer.
Understanding Acrylic Glazing
Glazing involves applying thin, transparent layers of paint over a dry underpainting. Each layer, or glaze, modifies the color and value of the layers beneath, creating a sense of depth and luminosity. Acrylics are well-suited for glazing because they dry quickly and form durable, flexible films. This allows artists to build up multiple layers without the risk of cracking or peeling.
Before diving into the practical steps of how to glaze a finished acrylic painting, it’s crucial to understand the underlying principles. Glazes work by allowing light to pass through the transparent layers and reflect off the underlying colors. This creates a luminous effect that is difficult to achieve with opaque painting techniques. The key is to use thin, transparent layers of paint diluted with a glazing medium.
Materials Needed for Acrylic Glazing
To successfully glaze a finished acrylic painting, you’ll need the following materials:
- Finished Acrylic Painting: Ensure the painting is completely dry before glazing.
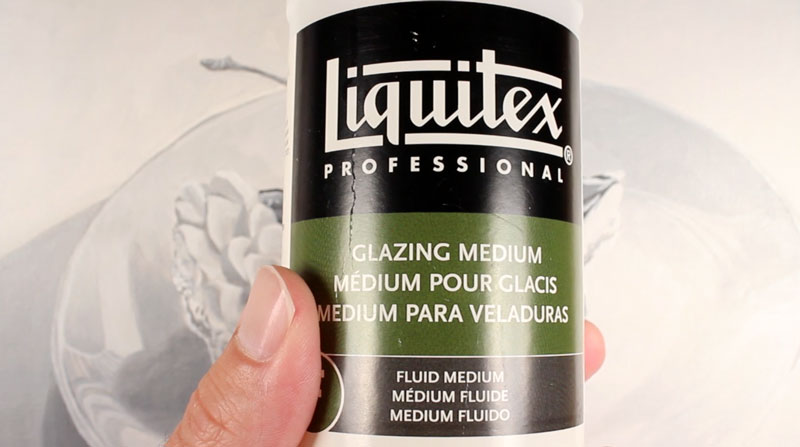
- Acrylic Glazing Medium: This medium increases the transparency and flow of acrylic paint.
- Acrylic Paints: Choose high-quality acrylic paints with good transparency.
- Soft Brushes: Use soft, synthetic brushes to apply the glazes smoothly.
- Palette: A palette for mixing your glazes.
- Palette Knife: For mixing paints and mediums.
- Clean Water: For cleaning your brushes.
- Soft Cloth: For wiping excess paint from the brush.
- Varnish (Optional): To protect the finished glazed painting.
Preparing Your Finished Acrylic Painting
Proper preparation is essential for achieving the best results when you glaze a finished acrylic painting. Here’s what you need to do:
Cleaning the Surface
Before applying any glazes, ensure your painting surface is clean and free of dust, dirt, or grease. Use a soft, damp cloth to gently wipe the surface. Allow the painting to dry completely before proceeding.
Sealing the Painting (Optional)
Some artists prefer to seal their finished acrylic painting with a clear acrylic varnish before glazing. This provides a uniform surface and prevents the glazes from sinking into the underlying layers. If you choose to seal your painting, apply a thin coat of varnish and let it dry completely.
Mixing Acrylic Glazes
The key to successful acrylic glazing lies in properly mixing your glazes. A good glaze should be thin, transparent, and have a smooth consistency. Here’s how to mix your glazes:
Ratio of Paint to Glazing Medium
The ideal ratio of paint to glazing medium varies depending on the desired transparency and the specific paint colors you’re using. A good starting point is a ratio of 1 part paint to 4-5 parts glazing medium. Adjust the ratio as needed to achieve the desired transparency.
Mixing the Glaze
On your palette, add a small amount of acrylic paint. Gradually add the glazing medium, mixing thoroughly with a palette knife until you achieve a smooth, even consistency. The glaze should be transparent enough to see through when applied thinly.
Testing the Glaze
Before applying the glaze to your painting, test it on a separate piece of paper or canvas. This allows you to evaluate the color and transparency of the glaze and make any necessary adjustments.
Applying Acrylic Glazes
Now that you’ve prepared your painting and mixed your glazes, you’re ready to begin applying them. Here’s a step-by-step guide on how to glaze a finished acrylic painting:
Applying the First Glaze
Dip your soft brush into the glaze and gently apply it to the area you want to modify. Use long, even strokes to distribute the glaze evenly. Avoid applying the glaze too thickly, as this can obscure the underlying layers and reduce the luminosity of the painting.
Wiping Away Excess Glaze
After applying the glaze, use a clean, soft cloth to gently wipe away any excess paint. This helps to ensure that the glaze remains thin and transparent. You can also use a dry brush to soften the edges of the glaze and create a more seamless transition.
Drying Time
Allow each glaze layer to dry completely before applying the next. Acrylics typically dry quickly, but drying time can vary depending on the thickness of the glaze and the ambient humidity. It’s best to wait at least a few hours, or even overnight, before applying another glaze.
Building Up Layers
Continue applying glazes, one layer at a time, until you achieve the desired effect. Remember to work slowly and deliberately, and to allow each layer to dry completely before proceeding. Building up multiple thin layers will create a richer, more luminous effect than applying a single thick layer.
Tips for Successful Acrylic Glazing
Here are some additional tips to help you achieve the best results when you glaze a finished acrylic painting:
- Use High-Quality Paints: High-quality acrylic paints have better transparency and pigment load, which will result in more vibrant and luminous glazes.
- Choose the Right Brushes: Soft, synthetic brushes are ideal for applying glazes smoothly and evenly. Avoid using stiff or coarse brushes, as they can leave brushstrokes in the glaze.
- Work in a Well-Ventilated Area: Acrylic paints and mediums can release fumes, so it’s important to work in a well-ventilated area.
- Keep Your Brushes Clean: Clean your brushes regularly with water to prevent the paint from drying and hardening.
- Experiment with Different Colors: Don’t be afraid to experiment with different colors and combinations to create unique and interesting effects.
- Be Patient: Glazing is a slow and deliberate process, so be patient and don’t rush. The results are well worth the effort.
Common Mistakes to Avoid
Even experienced artists can make mistakes when glazing acrylic paintings. Here are some common pitfalls to avoid:
- Applying Glazes Too Thickly: Thick glazes can obscure the underlying layers and reduce the luminosity of the painting. Always apply glazes thinly and evenly.
- Not Allowing Glazes to Dry Completely: Applying a new glaze before the previous one is dry can cause the layers to mix and muddy the colors. Always allow each glaze layer to dry completely before proceeding.
- Using Opaque Paints: Opaque paints will block light and prevent the glazes from creating a luminous effect. Use transparent or semi-transparent paints for glazing.
- Overworking the Glazes: Overworking the glazes can cause them to become muddy and lose their transparency. Apply the glazes gently and avoid excessive brushing.
Finishing Your Glazed Acrylic Painting
Once you’ve finished applying all of your glazes and are satisfied with the results, it’s time to protect your painting with a final coat of varnish. This will help to protect the painting from dust, dirt, and UV damage, and will also enhance the colors and luminosity of the glazes.
Applying Varnish
Choose a high-quality acrylic varnish that is designed for use with acrylic paints. Apply the varnish in thin, even coats, following the manufacturer’s instructions. Allow each coat of varnish to dry completely before applying the next. [See also: Best Acrylic Varnishes for Artists]
Types of Varnish
There are several types of acrylic varnish available, including gloss, satin, and matte. Gloss varnish will enhance the colors and luminosity of the painting, while satin and matte varnishes will reduce the shine. Choose the type of varnish that best suits your personal preferences and the overall aesthetic of the painting.
Conclusion
Acrylic glazing is a powerful technique that can add depth, luminosity, and subtle color variations to your finished acrylic paintings. By following the steps outlined in this guide, you can learn how to glaze a finished acrylic painting and create stunning visual effects that will enhance your artwork. Remember to be patient, work deliberately, and experiment with different colors and techniques to find what works best for you. With practice, you’ll be able to master the art of acrylic glazing and create truly remarkable paintings. This method of how to glaze a finished acrylic painting elevates the artwork to a new dimension. The careful application of thin layers, the selection of appropriate mediums, and the patience required all contribute to a final piece that is both visually stunning and technically impressive. Mastering how to glaze a finished acrylic painting opens up new avenues for artistic expression and allows for a level of detail and nuance that is difficult to achieve with other painting techniques. The process of how to glaze a finished acrylic painting can be transformative, turning a good painting into an exceptional one. Learning how to glaze a finished acrylic painting is a valuable skill for any acrylic artist. Understanding how to glaze a finished acrylic painting allows for greater control over the final outcome. Perfecting how to glaze a finished acrylic painting takes time and practice, but the results are well worth the effort. The ability to glaze a finished acrylic painting effectively can significantly enhance the depth and richness of the artwork. Many artists find that learning how to glaze a finished acrylic painting opens up new creative possibilities and allows them to achieve effects that were previously unattainable. The technique of how to glaze a finished acrylic painting is a cornerstone of advanced acrylic painting. Discovering how to glaze a finished acrylic painting can be a game-changer for artists looking to elevate their work. The nuances of how to glaze a finished acrylic painting are best learned through experimentation and practice. Finally, the art of how to glaze a finished acrylic painting is a testament to the versatility and beauty of acrylic paints.

