Easy Ways to Get Acrylic Nails Off Safely at Home
Acrylic nails are a popular choice for those seeking a durable and glamorous manicure. However, the time eventually comes when they need to be removed. Heading to the salon for professional removal is always an option, but it’s not always the most convenient or cost-effective. Luckily, there are several easy ways to get acrylic nails off safely at home, minimizing damage to your natural nails. This article will explore various methods, providing step-by-step instructions and essential tips for a smooth removal process.
Understanding Acrylic Nails and Their Removal
Acrylic nails are created by combining a liquid monomer and a powder polymer, forming a hard layer over your natural nails. This layer is then shaped and polished to achieve the desired look. Unlike gel nails, which are cured under UV light, acrylics harden through a chemical reaction. This difference is crucial in understanding the removal process.
The key to safely removing acrylic nails at home is to break down the acrylic material without excessively damaging the natural nail underneath. Aggressive picking or peeling can lead to thinning, weakening, and even infection. Patience and the right techniques are essential.
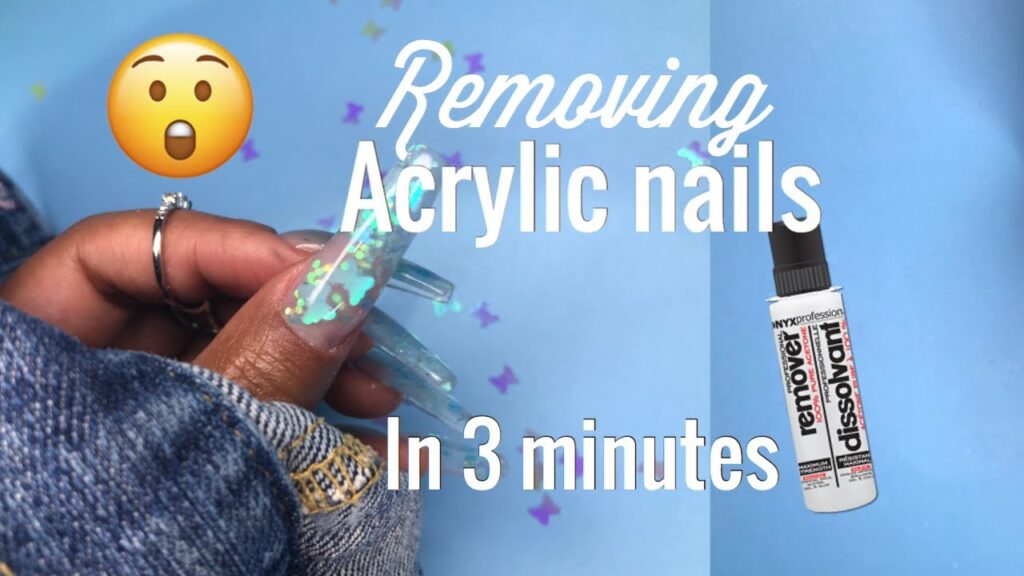
The Acetone Soak Method: The Gold Standard
The most effective and widely recommended method for removing acrylic nails is the acetone soak. Acetone is a powerful solvent that dissolves the acrylic, allowing for gentle removal. Here’s how to do it:
Materials You’ll Need:
- 100% pure acetone
- Cotton balls
- Aluminum foil
- Nail file (coarse grit)
- Cuticle pusher (metal or wooden)
- Nail buffer
- Cuticle oil or moisturizer
Step-by-Step Instructions:
- File Down the Top Coat: Use the nail file to carefully file away the top layer of the acrylic. This helps the acetone penetrate more effectively. Focus on thinning the acrylic as much as possible without damaging your natural nail.
- Protect Your Skin: Apply a thick layer of petroleum jelly or cuticle oil to the skin surrounding your nails. This will protect your skin from the drying effects of the acetone.
- Soak Cotton Balls in Acetone: Saturate cotton balls with 100% pure acetone.
- Apply to Nails and Wrap: Place a soaked cotton ball directly onto each nail. Wrap each finger tightly with a piece of aluminum foil to hold the cotton ball in place and prevent evaporation.
- Soak for 20-30 Minutes: Allow the acetone to soak for at least 20-30 minutes. Check a nail after 20 minutes to see if the acrylic is softening. If not, rewrap and soak for an additional 10 minutes.
- Gently Remove Softened Acrylic: After the soaking period, the acrylic should be soft and pliable. Use a cuticle pusher to gently scrape away the softened acrylic. Work slowly and carefully, avoiding excessive force. If the acrylic is still hard, re-soak for a few more minutes.
- Buff and Moisturize: Once all the acrylic is removed, use a nail buffer to smooth the surface of your natural nails. Finish by applying cuticle oil or moisturizer to hydrate and nourish your nails and surrounding skin.
Alternative Methods for Acrylic Nail Removal
While the acetone soak is the most effective method, several alternative approaches can be used, particularly if you are sensitive to acetone or prefer a gentler option. These methods may take longer and require more patience.
The Warm Water Soak Method
This method relies on warm water to gradually loosen the acrylic. It’s less harsh than acetone but requires more time and effort.
Materials You’ll Need:
- Warm water
- Dish soap (optional)
- Nail file
- Cuticle pusher
- Towel
- Cuticle oil or moisturizer
Step-by-Step Instructions:
- File Down the Top Coat: As with the acetone method, begin by filing down the top layer of the acrylic to thin it out.
- Soak Your Nails: Fill a bowl with warm water. You can add a few drops of dish soap to help break down the acrylic.
- Soak for 30-45 Minutes: Soak your nails in the warm water for 30-45 minutes, checking periodically to see if the acrylic is loosening.
- Gently Push Off the Acrylic: Use a cuticle pusher to gently push off the softened acrylic. If it’s not coming off easily, soak for a few more minutes.
- Repeat as Necessary: This method may require multiple soaking sessions to completely remove the acrylic.
- Buff and Moisturize: Once the acrylic is removed, buff your nails and apply cuticle oil or moisturizer.
The Dental Floss Method (Use with Caution)
This method involves using dental floss to separate the acrylic from the natural nail. It’s potentially damaging and should be used with extreme caution. It is generally not recommended unless other methods have failed and you are very careful.
Materials You’ll Need:
- Dental floss
- Cuticle stick or orange wood stick
- Nail file
Step-by-Step Instructions:
- Loosen the Acrylic: Use the nail file to create a small gap between the acrylic and your natural nail at the cuticle area.
- Insert Dental Floss: Carefully insert the dental floss into the gap.
- Gently Saw Back and Forth: Gently saw the floss back and forth, working your way down the nail to separate the acrylic. Be extremely careful not to force it, as this can cause damage to your natural nail. If you encounter resistance, stop and try a different method.
- Buff and Moisturize: After removing the acrylic, buff your nails and apply cuticle oil or moisturizer.
Important Note: This method can cause significant damage if not done correctly. If you experience pain or excessive resistance, stop immediately and consider seeking professional help.
Tips for Protecting Your Natural Nails
No matter which method you choose, it’s crucial to take steps to protect your natural nails during and after the removal process. Here are some essential tips:
- Avoid Picking or Peeling: Resist the urge to pick or peel off the acrylic. This can remove layers of your natural nail, leading to thinning and weakness.
- Be Patient: Allow sufficient soaking time for the acrylic to soften properly. Rushing the process can result in damage.
- Hydrate Your Nails: Acetone and other removal methods can dry out your nails. Regularly apply cuticle oil or moisturizer to keep them hydrated.
- Take Breaks: If you’re having trouble removing the acrylic, take breaks to allow your nails to recover.
- Consider Professional Help: If you’re unsure about any of the methods or experiencing difficulties, consult a professional nail technician.
Aftercare for Healthy Nails
After removing your acrylic nails, it’s essential to focus on nail health and repair. Here’s how to care for your nails after acrylic removal:
- Moisturize Regularly: Apply cuticle oil or a nail strengthener several times a day to keep your nails hydrated and promote growth.
- Avoid Harsh Chemicals: Limit your exposure to harsh chemicals, such as cleaning products, which can further dry out your nails. Wear gloves when doing household chores.
- Maintain a Healthy Diet: A balanced diet rich in vitamins and minerals can contribute to stronger, healthier nails.
- Consider a Nail Strengthener: Use a nail strengthener to help repair and protect your nails from breakage.
- Give Your Nails a Break: Allow your nails to breathe and recover before applying another set of acrylics or other nail enhancements.
When to Seek Professional Help
While easy ways to get acrylic nails off at home exist, there are times when seeking professional help is the best option. Consider consulting a nail technician if:
- You’re experiencing pain or discomfort during the removal process.
- You’re having difficulty removing the acrylic, even after following the instructions carefully.
- You notice signs of infection, such as redness, swelling, or pus.
- You have damaged your natural nails significantly.
A professional nail technician can safely remove your acrylics and provide expert advice on nail care and restoration. They have the tools and knowledge to minimize damage and promote healthy nail growth.
Conclusion
Removing acrylic nails at home can be a straightforward process with the right techniques and precautions. The acetone soak method remains the most effective, but alternative options are available for those seeking gentler approaches. Remember to prioritize the health of your natural nails by being patient, avoiding harsh methods, and providing proper aftercare. By following these guidelines, you can safely remove your acrylic nails and maintain healthy, beautiful nails. Removing acrylic nails is possible at home, just remember to be gentle. With the right approach, learning easy ways to get acrylic nails off is achievable. If you’re looking for easy ways to get acrylic nails off, remember that patience is key. There are many easy ways to get acrylic nails off, but safety should always be the priority. Explore different easy ways to get acrylic nails off until you find the best fit for you. Many people search for easy ways to get acrylic nails off to avoid salon visits. Finding easy ways to get acrylic nails off can save you time and money. Easy ways to get acrylic nails off often involve common household items. Knowing easy ways to get acrylic nails off is a valuable skill for anyone who wears acrylics. The best easy ways to get acrylic nails off focus on minimizing damage to the natural nail. Learning about easy ways to get acrylic nails off empowers you to care for your nails at home. With these easy ways to get acrylic nails off, you can confidently manage your acrylic manicure. Choose from these easy ways to get acrylic nails off based on your preferences and nail health. These easy ways to get acrylic nails off provide options for various levels of experience. Don’t forget to moisturize after trying these easy ways to get acrylic nails off. There are several easy ways to get acrylic nails off; find the one that works best for you. Always prioritize safety when exploring easy ways to get acrylic nails off. If unsure, seek professional advice for easy ways to get acrylic nails off safely.
[See also: How to Choose the Right Nail Shape] [See also: The Ultimate Guide to Nail Care] [See also: DIY Manicure Tips for a Salon-Quality Finish]

