Beginner’s Guide to Acrylic Pouring: Unleash Your Inner Artist
Acrylic pouring, also known as fluid art, is a mesmerizing and accessible art form that allows even complete beginners to create stunning, abstract paintings. This beginner’s guide to acrylic pouring will walk you through everything you need to know to get started, from essential materials to basic techniques and troubleshooting tips. Whether you’re looking for a new creative outlet or simply want to explore the world of abstract art, acrylic pouring offers a unique and rewarding experience.
What is Acrylic Pouring?
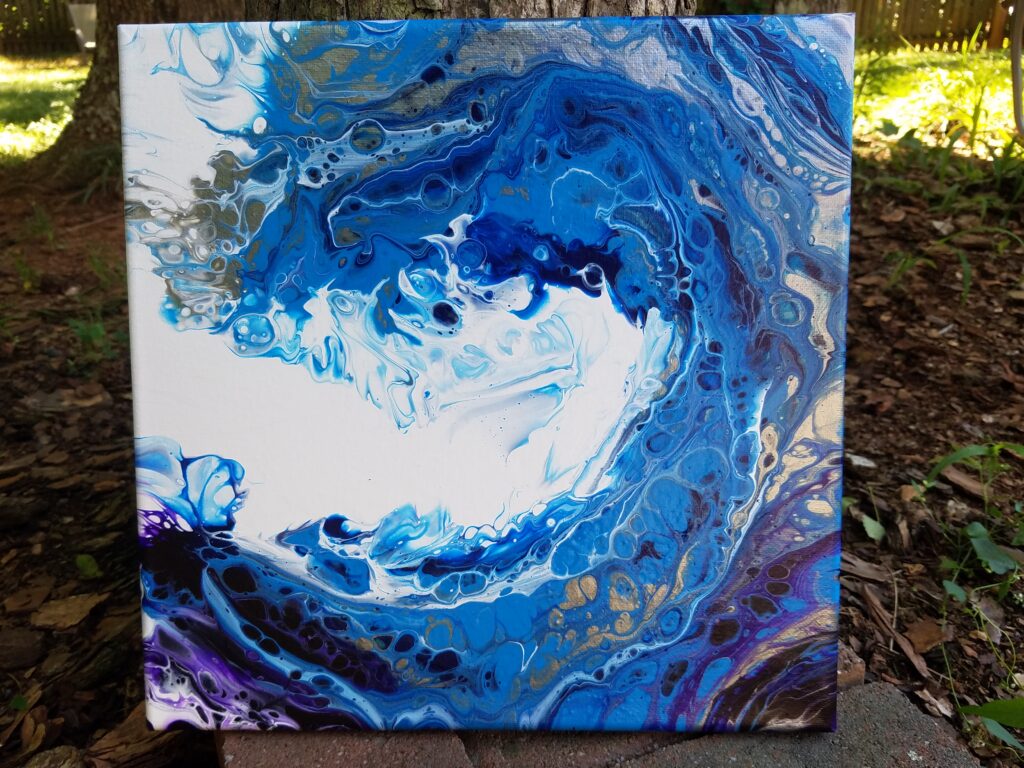
Acrylic pouring involves mixing acrylic paints with a pouring medium to create a fluid consistency. This mixture is then poured onto a canvas or other surface, allowing the colors to blend and swirl in unpredictable and beautiful ways. The result is often a vibrant and dynamic abstract artwork with unique cell formations and patterns.
Essential Materials for Acrylic Pouring
Before you begin your acrylic pouring journey, you’ll need to gather a few essential materials:
- Acrylic Paints: Choose a variety of colors that appeal to you. Student-grade acrylics are a great starting point, but artist-grade paints offer richer pigments and better lightfastness.
- Pouring Medium: This is crucial for achieving the desired fluidity and preventing the paint from cracking as it dries. Popular choices include Liquitex Pouring Medium, Floetrel, and GAC 800.
- Canvas or Other Surface: Stretched canvas is the most common surface, but you can also use wood panels, tiles, or even glass.
- Cups and Mixing Sticks: You’ll need separate cups for each color and mixing sticks to combine the paint and pouring medium.
- Silicone Oil (Optional): Adding a few drops of silicone oil to some of your paint mixtures can create unique cell formations in your acrylic pouring art.
- Torch or Heat Gun (Optional): Using a torch or heat gun after pouring can help bring out cells and remove air bubbles.
- Protective Gear: Wear gloves and an apron to protect your hands and clothing from paint splatters.
- Level Surface: Ensure your work surface is level to prevent the paint from running off the canvas.
- Drop Cloth or Newspaper: Protect your work area from spills and drips.
Basic Acrylic Pouring Techniques
There are several popular acrylic pouring techniques you can try as a beginner:
Dirty Pour
The dirty pour is one of the simplest and most popular techniques. It involves layering different colors of paint into a single cup and then pouring the entire mixture onto the canvas. This technique creates a beautiful blend of colors and often results in interesting cell formations. To do a dirty pour:
- Prepare your paints by mixing them with the pouring medium to a thin, honey-like consistency.
- Layer different colors of paint into a single cup, without stirring.
- Flip the cup upside down onto the canvas and let the paint flow out.
- Tilt the canvas to spread the paint and create the desired design.
Flip Cup Pour
The flip cup technique is similar to the dirty pour, but with a slight twist. Instead of pouring the paint directly from the cup, you flip the cup upside down onto the canvas and let it sit for a few minutes before lifting it. This allows the colors to blend and create unique patterns. To do a flip cup pour:
- Prepare your paints as described above.
- Layer different colors of paint into a single cup.
- Flip the cup upside down onto the canvas and let it sit for a few minutes.
- Lift the cup and tilt the canvas to spread the paint.
Puddle Pour
The puddle pour technique involves pouring small puddles of different colors onto the canvas and then tilting the canvas to let the colors flow together. This technique allows for more control over the placement of colors and can create intricate designs. To do a puddle pour:
- Prepare your paints as described above.
- Pour small puddles of different colors onto the canvas.
- Tilt the canvas to let the colors flow together and create the desired design.
Swipe Technique
The swipe technique involves pouring a line of paint across the canvas and then using a tool, such as a palette knife or paper towel, to swipe the paint across the surface. This technique can create dramatic effects and interesting textures. To do a swipe technique:
- Prepare your paints as described above.
- Pour a line of paint across the canvas.
- Use a palette knife or paper towel to swipe the paint across the surface.
Air Swipe Technique
Similar to the Swipe Technique, the air swipe uses a straw or compressed air to move the paint across the canvas. This provides a more controlled and precise movement, resulting in unique textures and patterns.
- Prepare your paints as described above.
- Pour a line of paint across the canvas.
- Use a straw or compressed air to swipe the paint across the surface.
Tips for Success
Here are some tips to help you succeed with acrylic pouring:
- Experiment with different paint-to-pouring medium ratios: The ideal ratio will vary depending on the specific paints and pouring medium you use. Start with a 1:1 ratio and adjust as needed.
- Use a level surface: This will prevent the paint from running off the canvas and ensure an even distribution of colors.
- Don’t be afraid to experiment: Acrylic pouring is all about experimentation. Try different techniques, colors, and materials to discover what works best for you.
- Control your pouring pace: Pouring too quickly can result in a muddy mixture, while pouring too slowly can create uneven patterns.
- Consider your color palette: Think about the colors you want to use and how they will interact with each other. Complementary colors can create vibrant contrasts, while analogous colors can create a more harmonious effect.
- Practice makes perfect: Don’t get discouraged if your first few attempts aren’t perfect. The more you practice, the better you’ll become at acrylic pouring.
- Clean your tools immediately: Acrylic paint dries quickly, so it’s important to clean your cups, mixing sticks, and other tools immediately after use.
- Document your process: Take notes on the paints, pouring medium, and techniques you use so you can replicate successful results in the future.
Troubleshooting Common Problems
Even with careful planning, you may encounter some common problems when acrylic pouring. Here are some solutions:
- Cracking: This is often caused by using too much paint or not enough pouring medium. Try adjusting the paint-to-pouring medium ratio.
- Muddy Colors: This can happen if you overmix the paints or use too many colors. Try layering the paints without stirring and limiting the number of colors you use.
- Lack of Cells: This can be caused by not using enough silicone oil or not using a torch or heat gun. Try adding a few drops of silicone oil to some of your paint mixtures and using a torch or heat gun to bring out the cells.
- Air Bubbles: Gently tap the canvas or use a heat gun to remove air bubbles.
- Uneven Drying: Ensure your canvas is on a level surface and that the room temperature is consistent.
Safety Precautions
While acrylic pouring is generally safe, it’s important to take a few precautions:
- Ventilation: Work in a well-ventilated area to avoid inhaling fumes from the paints and pouring medium.
- Skin Protection: Wear gloves to protect your hands from paint splatters.
- Eye Protection: Wear safety glasses or goggles to protect your eyes from splashes.
- Proper Disposal: Dispose of waste materials properly, following local regulations.
Advanced Techniques and Inspiration
Once you’ve mastered the basics of acrylic pouring, you can explore more advanced techniques, such as:
- Dutch Pour: Using a hairdryer to manipulate the paint.
- String Pull: Dragging a string through the paint to create intricate patterns.
- Bloom Technique: Creating a central bloom-like effect with a specific paint mixture.
Look for inspiration online from other acrylic pouring artists to spark your creativity and discover new techniques. Platforms like Instagram, Pinterest, and YouTube are filled with amazing examples of fluid art.
Conclusion
Acrylic pouring is a fun, accessible, and rewarding art form that allows you to create stunning abstract paintings with ease. This beginner’s guide to acrylic pouring has provided you with the essential knowledge and techniques to get started. Remember to experiment, have fun, and don’t be afraid to make mistakes. With practice and patience, you’ll be creating beautiful and unique works of art in no time. So, gather your materials, unleash your inner artist, and dive into the mesmerizing world of fluid art! [See also: Acrylic Paint Uses and Techniques] [See also: How to Clean Acrylic Paint Brushes]

