Almond Shaped Acrylics: A Comprehensive Guide to Achieving and Maintaining the Perfect Set
Almond shaped acrylics are a sophisticated and versatile nail shape that has gained immense popularity in the beauty world. Characterized by their slender sides that taper to a soft, rounded point resembling an almond, this shape offers a flattering look for most hand shapes and nail lengths. This guide provides a detailed exploration of almond shaped acrylics, covering everything from the benefits of this nail shape to the step-by-step process of achieving it, and essential maintenance tips for long-lasting, beautiful nails.
Why Choose Almond Shaped Acrylics?
The appeal of almond shaped acrylics lies in their ability to elongate the fingers, creating a more elegant and refined appearance. Unlike square or stiletto shapes, the almond shape offers a balance between practicality and style. Here are some compelling reasons to consider almond shaped acrylics:
- Elongating Effect: The tapered shape visually lengthens the fingers, making them appear more slender.
- Versatility: Almond shaped nails complement a wide range of nail art designs and colors, from minimalist nudes to bold, intricate patterns.
- Durability: While not as strong as square shapes, almond shaped acrylics are less prone to breakage compared to stiletto or coffin shapes.
- Sophistication: The almond shape exudes a classic and sophisticated vibe, suitable for both everyday wear and special occasions.
Preparing for Almond Shaped Acrylics
Before diving into the application process, proper preparation is crucial for achieving a flawless and long-lasting set of almond shaped acrylics. This involves sanitizing your tools and hands, gently pushing back your cuticles, and buffing the natural nail surface to create a slightly rough texture for better adhesion. Dehydrating the nail plate is also essential to remove any oils or moisture that could compromise the acrylic’s bond. [See also: Nail Preparation Guide]
Essential Tools and Materials
To create almond shaped acrylics, you will need the following tools and materials:
- Acrylic powder (in your desired color)
- Acrylic liquid monomer
- Acrylic brush (size 8 or 10 is recommended)
- Nail forms
- Nail file (100/180 grit)
- Buffer
- Nail dehydrator
- Primer
- Cuticle pusher
- Sanitizer
- Top coat
- Dappen dish
Step-by-Step Guide to Applying Almond Shaped Acrylics
Creating almond shaped acrylics requires patience and practice. Follow these steps for a professional-looking result:
- Apply Nail Forms: Securely attach nail forms to your natural nails, ensuring they are aligned properly to create the desired almond shape. The forms should extend slightly beyond your natural nail to allow for shaping.
- Apply Primer: Apply a thin coat of nail primer to your natural nails. This will help the acrylic adhere better and prevent lifting.
- Acrylic Application: Dip your acrylic brush into the monomer, then pick up a bead of acrylic powder. Apply the acrylic to the nail, starting from the cuticle area and working your way towards the free edge. Repeat this process, building up the acrylic in thin layers.
- Shaping the Almond: Use your brush to shape the acrylic into the desired almond shape. Pay close attention to the sidewalls, ensuring they taper evenly towards the center. The tip should be rounded and slightly pointed, resembling an almond.
- Filing and Buffing: Once the acrylic has hardened, use a nail file to refine the shape and smooth out any imperfections. Start with a coarser grit file (100 grit) to shape the nails, then switch to a finer grit file (180 grit) to smooth the surface. Finish with a buffer to create a smooth, glossy finish.
- Top Coat Application: Apply a thin layer of top coat to seal the acrylic and add shine. Cure the top coat under a UV or LED lamp according to the manufacturer’s instructions.
Achieving the Perfect Almond Shape: Tips and Tricks
Mastering the almond shape takes practice. Here are some tips to help you achieve the perfect set of almond shaped acrylics:
- Practice on a Training Hand: Before working on your own nails, practice the almond shape on a training hand to develop your technique.
- Use a Small Brush: A smaller acrylic brush allows for more precise application and shaping.
- Work in Thin Layers: Applying the acrylic in thin layers prevents the nails from becoming too thick and bulky.
- Pinching Technique: While the acrylic is still pliable, use a pinching tool to refine the shape and create a more defined almond shape.
- Refer to Visual Guides: Look at pictures and videos of almond shaped acrylics for inspiration and guidance.
Maintaining Your Almond Shaped Acrylics
Proper maintenance is essential for keeping your almond shaped acrylics looking their best and preventing damage to your natural nails. Here are some maintenance tips:
- Regular Fill-Ins: Schedule regular fill-in appointments every 2-3 weeks to fill in the gap between the acrylic and your cuticle.
- Moisturize Regularly: Apply cuticle oil to your cuticles and nails daily to keep them hydrated and prevent dryness.
- Avoid Harsh Chemicals: Wear gloves when doing household chores or working with harsh chemicals to protect your acrylics from damage.
- Gentle Filing: If you notice any chips or snags, gently file them down with a fine-grit nail file.
- Professional Removal: Always have your acrylics professionally removed to avoid damaging your natural nails.
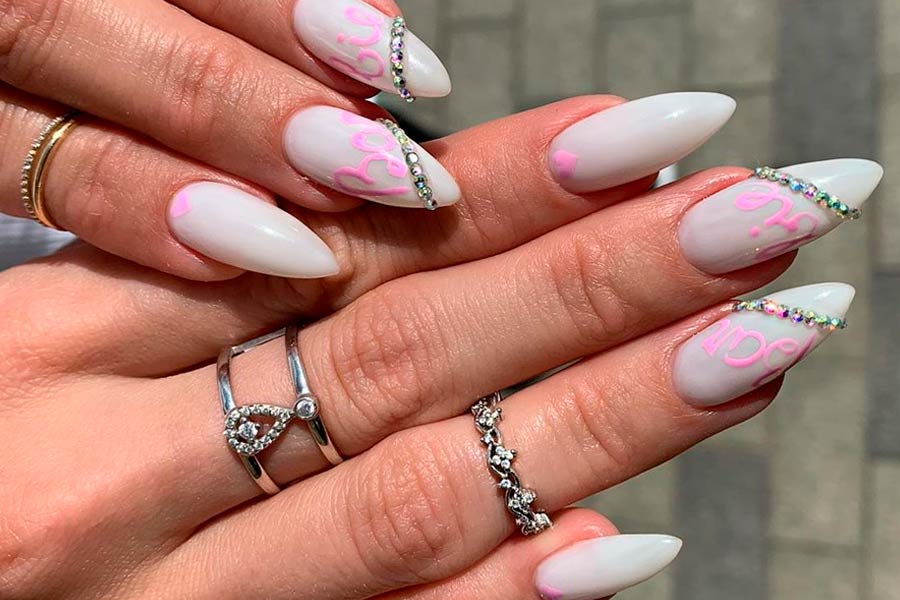
Almond Shaped Acrylics: Design Ideas and Inspiration
One of the best things about almond shaped acrylics is their versatility when it comes to design. Here are some popular design ideas to inspire your next manicure:
- Classic Nudes: A nude or neutral shade is a timeless choice that complements the elegant almond shape.
- French Manicure: A French manicure with a crisp white tip is a sophisticated and classic option.
- Ombre: An ombre design, blending two or more colors seamlessly, adds a touch of glamour.
- Glitter Accents: Add a touch of sparkle with glitter accents, either on the entire nail or as a subtle detail.
- Floral Designs: Delicate floral designs are a feminine and romantic choice.
- Geometric Patterns: Bold geometric patterns add a modern and edgy twist to the almond shape.
- Marble Effect: A marble effect creates a luxurious and sophisticated look.
Troubleshooting Common Issues with Almond Shaped Acrylics
Even with careful application and maintenance, you may encounter some common issues with almond shaped acrylics. Here are some troubleshooting tips:
- Lifting: Lifting occurs when the acrylic separates from the natural nail. This can be caused by improper preparation, poor adhesion, or exposure to moisture. To prevent lifting, ensure you properly dehydrate and prime your nails before applying the acrylic.
- Breakage: While almond shaped acrylics are relatively durable, they can still break if subjected to excessive force. To prevent breakage, avoid using your nails as tools and wear gloves when doing activities that could put stress on your nails.
- Bubbles: Bubbles in the acrylic can be caused by using old or contaminated monomer, or by not properly mixing the acrylic powder and liquid. To prevent bubbles, use fresh monomer and mix the acrylic thoroughly.
- Uneven Shape: Achieving a perfectly symmetrical almond shape can be challenging. Practice and patience are key. Use a nail file to refine the shape and correct any imperfections.
The Future of Almond Shaped Acrylics
Almond shaped acrylics continue to be a popular choice among nail enthusiasts, and their versatility ensures their continued relevance in the ever-evolving world of nail trends. With advancements in acrylic technology and nail art techniques, we can expect to see even more innovative and creative designs incorporating the almond shape in the future. [See also: Future Nail Trends]
Conclusion
Almond shaped acrylics offer a sophisticated and elegant way to enhance your natural nails. By following the steps outlined in this guide and practicing proper maintenance, you can achieve and maintain a beautiful set of almond shaped acrylics that will turn heads. Whether you opt for a classic nude shade or a bold, intricate design, the almond shape provides a versatile canvas for expressing your personal style.

