Acrylic for Toenails: A Comprehensive Guide
Acrylic nails aren’t just for your fingers anymore. The trend of using acrylic for toenails has gained popularity, with many seeking a longer-lasting and aesthetically pleasing pedicure. This guide provides a detailed look at acrylic for toenails, covering everything from the application process to potential risks and alternative solutions. We’ll explore why people choose acrylic for toenails, the steps involved in applying them, the pros and cons, and, most importantly, how to maintain healthy toenails throughout the process.
Why Choose Acrylic for Toenails?
Several reasons contribute to the growing interest in acrylic for toenails. Some individuals opt for them to conceal damaged or unsightly toenails, such as those affected by fungal infections or injuries. Others simply desire a more polished and durable pedicure that lasts longer than traditional nail polish. Acrylic for toenails can also correct the shape and length of uneven or short toenails, providing a more uniform and attractive appearance. The appeal lies in the longevity and customizable nature of acrylic for toenails.
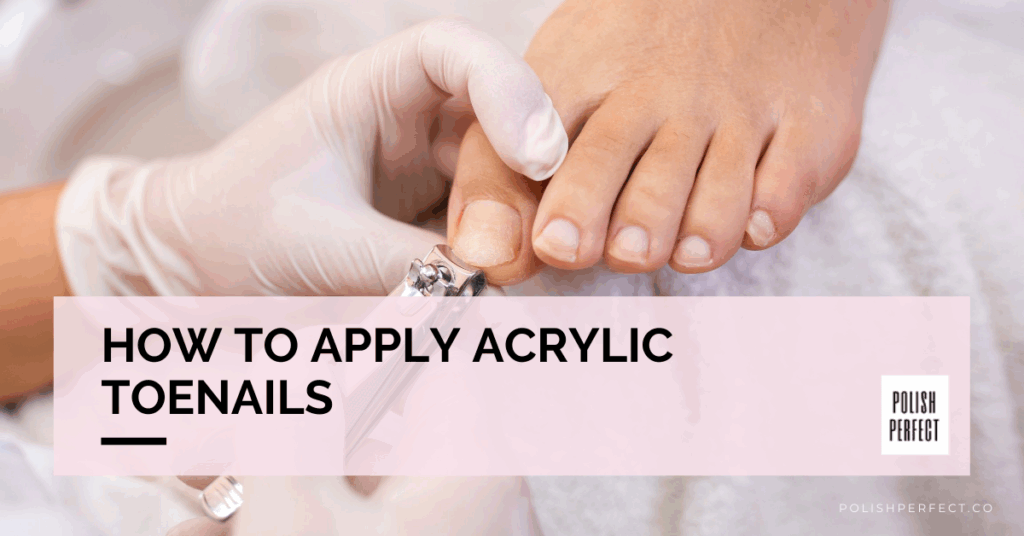
The Application Process: A Step-by-Step Guide
Applying acrylic for toenails is similar to the process for fingernails, but it requires precision and attention to detail. Here’s a breakdown of the steps:
- Preparation: The natural toenails are cleaned, trimmed, and gently buffed to remove the shine. The cuticle is pushed back, and any dead skin is removed. This ensures proper adhesion of the acrylic for toenails.
- Primer Application: A nail primer is applied to the natural nail. This helps the acrylic for toenails bond effectively and prevents lifting.
- Acrylic Application: A mixture of liquid monomer and polymer powder is carefully applied to the toenail, starting from the cuticle and extending to the free edge. The technician sculpts the acrylic for toenails to the desired shape and length.
- Shaping and Filing: Once the acrylic has hardened, it is filed and shaped to create a smooth and even surface. This step is crucial for achieving a natural look for the acrylic for toenails.
- Finishing Touches: A top coat is applied to seal the acrylic for toenails and add shine. The nails are then buffed to a glossy finish.
Potential Risks and Considerations of Acrylic for Toenails
While acrylic for toenails can enhance the appearance of your feet, it’s essential to be aware of the potential risks involved. One of the most common concerns is the risk of fungal infections. The artificial nail can create a warm, moist environment that promotes fungal growth. Improper application or maintenance can trap moisture between the acrylic and the natural nail, leading to infections. [See also: Treating Toenail Fungus] Additionally, the weight and pressure of the acrylic for toenails can damage the natural nail, causing thinning, brittleness, and even nail separation (onycholysis). Allergic reactions to the acrylic chemicals are also possible, resulting in redness, itching, and swelling around the nail bed. It’s vital to choose a reputable salon with experienced technicians who prioritize hygiene and proper application techniques to minimize these risks when considering acrylic for toenails.
Maintaining Healthy Toenails with Acrylics
If you choose to get acrylic for toenails, proper maintenance is crucial for preserving the health of your natural nails. Here are some tips:
- Regular Maintenance: Schedule regular fill appointments every 2-3 weeks to prevent lifting and maintain the integrity of the acrylic for toenails.
- Keep Toenails Dry: Avoid prolonged exposure to moisture. Dry your feet thoroughly after showering or swimming.
- Use Antifungal Products: Apply an antifungal treatment to your nails regularly, especially if you notice any signs of infection (discoloration, thickening, or crumbling).
- Avoid Picking or Prying: Resist the urge to pick or pry at the acrylic for toenails, as this can damage the natural nail.
- Take Breaks: Give your natural nails a break from acrylics every few months to allow them to recover.
Alternatives to Acrylic for Toenails
If you’re concerned about the potential risks of acrylic for toenails, several alternatives can provide a similar aesthetic without compromising nail health. Gel polish offers a durable and long-lasting finish that is less damaging than acrylics. [See also: Gel Polish vs Acrylic Nails] Dip powder nails are another option that involves dipping the nails into colored powder, creating a strong and chip-resistant coating. For those seeking a more natural approach, regular pedicures with high-quality nail polish and proper nail care can keep your toenails looking healthy and beautiful. Consider these alternatives before committing to acrylic for toenails.
Choosing a Reputable Salon and Technician
The success and safety of acrylic for toenails heavily depend on the skill and experience of the technician. When choosing a salon, prioritize hygiene and cleanliness. Ensure that the salon uses sterilized tools and follows proper sanitation protocols. Ask about the technician’s experience and qualifications in applying acrylic for toenails. Read online reviews and seek recommendations from friends or family. A skilled technician will be able to assess your nail health, provide personalized recommendations, and apply the acrylics safely and effectively. Don’t hesitate to ask questions and express any concerns you may have before proceeding with the application of acrylic for toenails.
The Long-Term Effects of Acrylic for Toenails
Frequent and prolonged use of acrylic for toenails can have long-term effects on the health and appearance of your natural nails. Over time, the nails may become thinner, weaker, and more prone to breakage. The constant pressure and weight of the acrylic can also lead to nail deformities and discoloration. It’s essential to be mindful of these potential long-term effects and take proactive steps to protect your nails. Consider alternating between acrylics and natural nails to allow your nails to breathe and recover. Use nourishing nail oils and strengtheners to promote healthy nail growth. If you notice any persistent problems, consult a dermatologist or podiatrist for professional advice regarding your acrylic for toenails.
Proper Removal of Acrylic for Toenails
The removal process is just as important as the application of acrylic for toenails. Improper removal can cause significant damage to the natural nail. Never attempt to peel or rip off the acrylics, as this can tear the layers of the nail plate. The safest and most effective method is to soak the nails in acetone until the acrylic softens and can be gently removed. This process can take 20-30 minutes. [See also: How to Safely Remove Acrylic Nails] A professional technician can perform the removal safely and efficiently, minimizing the risk of damage. After removal, hydrate your nails with cuticle oil and a nourishing hand cream to restore moisture and promote healthy nail growth. Remember, patience and gentle care are key to preserving the integrity of your natural nails after removing acrylic for toenails.
Conclusion: Making an Informed Decision About Acrylic for Toenails
Acrylic for toenails can be a great way to achieve a long-lasting and beautiful pedicure. However, it’s crucial to weigh the benefits against the potential risks and make an informed decision based on your individual needs and nail health. By understanding the application process, potential complications, and proper maintenance techniques, you can minimize the risks and enjoy the aesthetic enhancements of acrylic for toenails. Remember to prioritize nail health and choose a reputable salon with experienced technicians who prioritize hygiene and safety. If you’re unsure whether acrylic for toenails are right for you, consult a dermatologist or podiatrist for professional advice. With careful consideration and proper care, you can achieve beautiful and healthy toenails.

