Acrylic Nails with Polish: A Comprehensive Guide to Achieving the Perfect Manicure
Acrylic nails have become a staple in the beauty industry, offering a versatile and durable solution for those seeking to enhance their natural nails. Combining acrylics with a vibrant polish provides endless possibilities for expressing personal style and achieving stunning manicures. This comprehensive guide will delve into everything you need to know about acrylic nails with polish, from the application process to maintenance and trendy design ideas.
Understanding Acrylic Nails
Acrylic nails are artificial nail enhancements made by combining a liquid monomer and a powder polymer. This mixture creates a hard, protective layer over the natural nail, providing strength and length. Unlike gel nails, acrylics are air-dried and can be shaped and molded to create various looks.
Benefits of Acrylic Nails
- Durability: Acrylic nails are known for their strength and resistance to chipping, making them a long-lasting option.
- Versatility: They can be shaped, filed, and sculpted to achieve various lengths and designs.
- Customization: Acrylics provide a blank canvas for nail art, allowing for endless color and design possibilities.
- Correcting Imperfections: They can cover damaged or uneven natural nails.
The Application Process: Acrylic Nails with Polish
The application of acrylic nails with polish typically involves several steps, best performed by a trained nail technician. However, with practice and the right tools, it can also be done at home.
Preparation
Proper preparation is crucial for ensuring the longevity and appearance of acrylic nails with polish. This includes:
- Cleaning: Thoroughly clean your hands and nails with soap and water.
- Pushing Back Cuticles: Gently push back the cuticles using a cuticle pusher.
- Buffing: Lightly buff the surface of the natural nail to remove shine and create a slightly rough texture for better adhesion.
- Dehydrating: Apply a nail dehydrator to remove any oils and moisture from the nail surface.
Applying the Acrylic
- Primer: Apply a thin layer of nail primer to the natural nail. This helps the acrylic adhere better.
- Mixing: Dip an acrylic brush into the liquid monomer and then into the powder polymer to create a small bead of acrylic.
- Application: Apply the acrylic bead to the nail, starting near the cuticle and working towards the tip. Shape and mold the acrylic as you go.
- Repeat: Repeat the process until the entire nail is covered and the desired thickness and shape are achieved.
- Drying: Allow the acrylic to air dry completely.
Shaping and Filing
Once the acrylic is dry, it’s time to shape and refine the nails:
- Filing: Use a nail file to shape the acrylic nails to your desired shape (e.g., square, oval, almond).
- Buffing: Buff the surface of the acrylic to smooth out any imperfections and create a smooth canvas for the polish.
Applying Polish
Now comes the fun part – applying the polish! This is where you can unleash your creativity and choose from a wide array of colors and finishes.
- Base Coat: Apply a thin layer of base coat to protect the acrylic and help the polish adhere better.
- Color Coats: Apply two to three thin coats of your chosen nail polish, allowing each coat to dry completely before applying the next.
- Top Coat: Finish with a layer of top coat to seal the polish and add shine.
Choosing the Right Polish for Acrylic Nails
Selecting the right polish is essential for achieving a long-lasting and flawless manicure. Consider the following factors:
Type of Polish
- Regular Nail Polish: This is the most common type of polish and comes in a wide range of colors and finishes. It’s easy to apply and remove, but it may not last as long as other options.
- Gel Polish: Gel polish is cured under a UV or LED lamp, resulting in a durable and chip-resistant finish. It lasts longer than regular polish but requires a special removal process.
- Dip Powder Polish: Dip powder involves dipping the nail into a colored powder, which is then sealed with a top coat. It’s known for its durability and vibrant colors.
Color Selection
The color of your polish can dramatically impact the overall look of your acrylic nails. Consider your personal style, skin tone, and the occasion when choosing a color.
- Classic Colors: Nudes, reds, and pinks are timeless choices that complement any outfit.
- Trendy Colors: Keep up with the latest trends by experimenting with seasonal colors and finishes.
- Statement Colors: Bold colors like blues, greens, and purples can make a statement and add personality to your look.
Maintaining Acrylic Nails with Polish
Proper maintenance is crucial for extending the life of your acrylic nails with polish and keeping them looking their best.
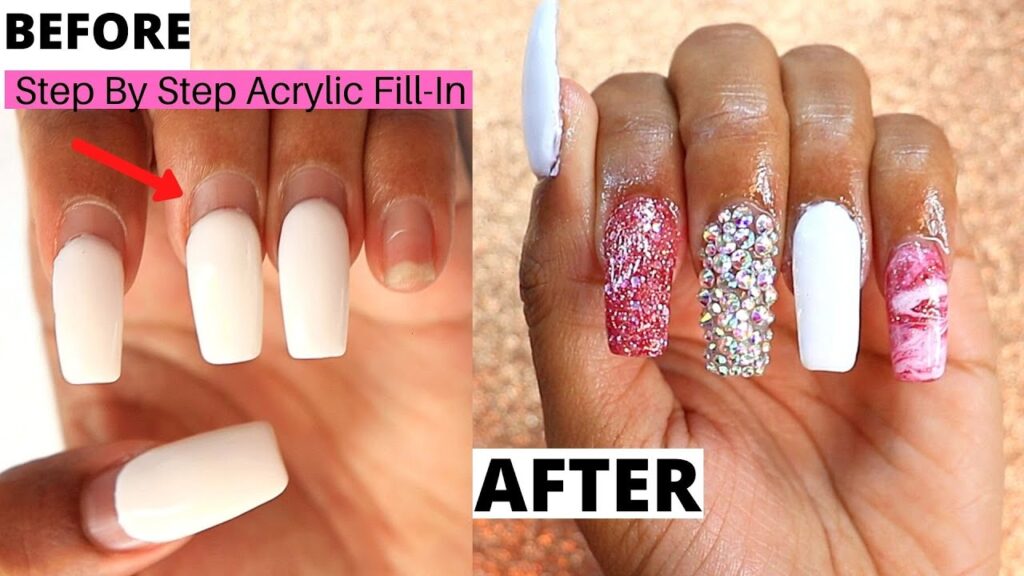
Regular Fill-Ins
As your natural nails grow, a gap will appear between the acrylic and the cuticle. Regular fill-ins, typically every two to three weeks, are necessary to maintain the appearance and integrity of the acrylic.
Moisturizing
Keep your hands and cuticles moisturized with a good quality cuticle oil or hand cream. This helps prevent the acrylic from drying out and cracking.
Avoiding Harsh Chemicals
Exposure to harsh chemicals can damage the acrylic and cause the polish to chip. Wear gloves when cleaning or handling chemicals.
Gentle Handling
Avoid using your acrylic nails as tools. This can cause them to break or lift. Be gentle when handling objects and performing everyday tasks.
Trendy Design Ideas for Acrylic Nails with Polish
One of the best things about acrylic nails with polish is the endless possibilities for creative designs. Here are some trendy ideas to inspire your next manicure:
Ombre Nails
Ombre nails feature a gradient effect, blending two or more colors seamlessly. This technique can be achieved with regular polish, gel polish, or even dip powder.
French Manicure
The classic French manicure gets a modern twist with acrylic nails. Experiment with different tip shapes and colors for a unique look.
Glitter Nails
Add some sparkle to your acrylic nails with glitter. You can apply glitter to the entire nail, create a glitter gradient, or use glitter accents for a subtle touch.
Marble Nails
Marble nails mimic the look of marble stone, creating a sophisticated and elegant design. This technique can be achieved with various colors and patterns.
Nail Art
Unleash your inner artist with nail art. Use nail art brushes, dotting tools, and stencils to create intricate designs, patterns, and images on your acrylic nails. [See also: Nail Art for Beginners]
Potential Downsides of Acrylic Nails
While acrylic nails with polish offer many benefits, it’s important to be aware of the potential downsides:
Damage to Natural Nails
Improper application or removal of acrylics can damage the natural nails, leading to thinning, weakening, and even fungal infections. It’s crucial to choose a reputable nail technician and follow proper aftercare instructions. [See also: How to Care for Your Natural Nails]
Allergic Reactions
Some people may be allergic to the chemicals used in acrylics, leading to skin irritation, itching, and swelling. If you experience any allergic reactions, discontinue use and consult a doctor.
Cost
Acrylic nails with polish can be more expensive than other nail enhancements, especially if you opt for intricate designs or regular fill-ins. Consider your budget when deciding if acrylics are right for you.
Removal Process
Proper removal is essential to prevent damage to your natural nails. It is highly recommended to have acrylic nails professionally removed. However, if you opt to remove them at home, follow these steps:
- Cut Down: Use nail clippers to trim the length of the acrylic nails.
- File Down: File away as much of the acrylic as possible without damaging your natural nails.
- Soak in Acetone: Soak cotton balls in acetone and place them on top of your nails. Wrap each finger in aluminum foil to hold the cotton balls in place.
- Wait: Allow the acetone to soak for 20-30 minutes. Check periodically to see if the acrylic is softening.
- Remove Softened Acrylic: Gently scrape away the softened acrylic with a cuticle pusher or orange wood stick.
- Moisturize: After removal, moisturize your hands and nails with cuticle oil or hand cream.
Conclusion
Acrylic nails with polish offer a fantastic way to enhance your nails and express your personal style. By understanding the application process, maintenance requirements, and potential downsides, you can make an informed decision about whether acrylics are right for you. Whether you opt for a classic French manicure or a trendy glitter design, acrylic nails provide a versatile canvas for creating stunning and long-lasting manicures. Remember to prioritize nail health and choose reputable professionals for application and removal to minimize the risk of damage and enjoy beautiful, healthy nails.

