Acrylic Wood Filler: Your Comprehensive Guide to Seamless Repairs
Woodworking and home repairs often involve dealing with imperfections. Whether it’s a nail hole, a gouge, or a crack, achieving a flawless finish requires the right materials and techniques. That’s where acrylic wood filler steps in. This versatile product is designed to seamlessly blend with wood, providing a durable and paintable surface for various repair projects. This guide will delve into the intricacies of acrylic wood filler, covering its benefits, applications, and best practices for achieving professional-looking results.
Understanding Acrylic Wood Filler
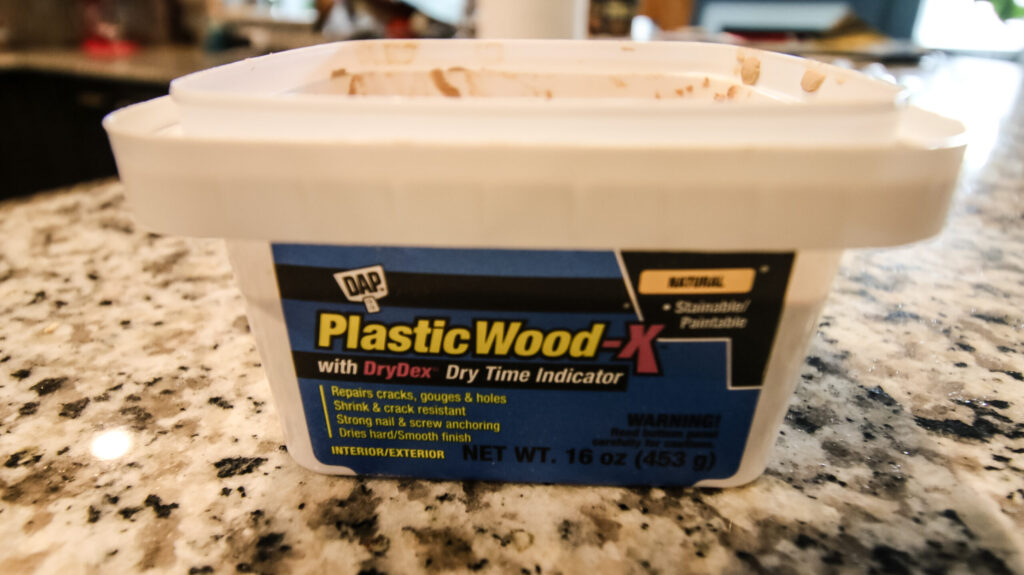
Acrylic wood filler is a paste-like substance used to fill imperfections in wood surfaces. It’s primarily composed of acrylic resins, which provide flexibility, adhesion, and durability. Unlike traditional wood fillers that may become brittle over time, acrylic wood filler remains pliable, accommodating slight movements in the wood without cracking or crumbling.
The composition of acrylic wood filler allows for easy sanding and shaping, making it ideal for creating smooth, seamless repairs. Its compatibility with paints and stains further enhances its versatility, enabling you to achieve a consistent finish that matches the surrounding wood.
Benefits of Using Acrylic Wood Filler
Choosing the right wood filler can significantly impact the longevity and appearance of your repair work. Acrylic wood filler offers several advantages over other types of fillers:
- Flexibility: As mentioned earlier, acrylic wood filler‘s flexibility is a key benefit. It can withstand minor expansions and contractions in the wood caused by temperature and humidity changes.
- Adhesion: It adheres strongly to wood surfaces, ensuring a long-lasting bond that resists cracking and peeling.
- Ease of Use: Acrylic wood filler is easy to apply, sand, and shape, making it suitable for both DIY enthusiasts and professional woodworkers.
- Paintability and Stainability: It accepts paints and stains readily, allowing you to achieve a seamless finish that blends with the surrounding wood.
- Water-Based Formula: Most acrylic wood fillers are water-based, making them low in VOCs (volatile organic compounds) and easy to clean up with water. This is a significant advantage for indoor use and environmental considerations.
- Durability: It provides a durable and long-lasting repair, resisting wear and tear over time.
Applications of Acrylic Wood Filler
Acrylic wood filler is a versatile solution for a wide range of woodworking and home repair projects. Here are some common applications:
- Filling Nail Holes and Screw Holes: It’s perfect for concealing nail and screw holes in furniture, trim, and other wooden surfaces.
- Repairing Cracks and Gouges: It can effectively fill cracks and gouges in wood, restoring its structural integrity and appearance.
- Seaming Joints: It can be used to create seamless joints between pieces of wood, eliminating gaps and imperfections.
- Restoring Damaged Edges: It can repair damaged edges of wood furniture and trim, restoring their original shape and appearance.
- Preparing Surfaces for Painting or Staining: It creates a smooth, even surface for painting or staining, ensuring a professional-looking finish.
How to Use Acrylic Wood Filler: A Step-by-Step Guide
Using acrylic wood filler is a straightforward process, but following these steps will help you achieve optimal results:
- Prepare the Surface: Clean the area to be filled, removing any loose debris, dirt, or old paint. Sand the surface lightly to create a better bond for the filler.
- Apply the Filler: Use a putty knife or spatula to apply the acrylic wood filler to the imperfection. Overfill the area slightly to allow for sanding.
- Allow to Dry: Let the filler dry completely according to the manufacturer’s instructions. Drying time can vary depending on the product and environmental conditions.
- Sand the Filler: Once dry, sand the filler smooth with fine-grit sandpaper. Blend the edges of the filler with the surrounding wood to create a seamless transition.
- Prime and Paint or Stain: Apply a primer to the filled area, followed by paint or stain to match the surrounding wood.
Choosing the Right Acrylic Wood Filler
With so many acrylic wood filler products on the market, selecting the right one can be challenging. Consider these factors when making your choice:
- Color: Choose a filler that closely matches the color of the wood you’re repairing. Some fillers are available in a range of colors, while others can be tinted to match custom stains.
- Consistency: Look for a filler with a smooth, creamy consistency that is easy to apply and sand.
- Drying Time: Consider the drying time of the filler, especially if you’re working on a time-sensitive project.
- Sandability: Ensure that the filler is easy to sand to achieve a smooth, seamless finish.
- VOC Content: Opt for a low-VOC or zero-VOC filler to minimize environmental impact and improve indoor air quality.
- Intended Use: Some acrylic wood fillers are formulated for specific applications, such as interior or exterior use. Choose a filler that is appropriate for your project.
Tips for Working with Acrylic Wood Filler
Here are some additional tips to help you achieve professional-looking results with acrylic wood filler:
- Work in Thin Layers: Apply the filler in thin layers to prevent cracking and ensure proper drying.
- Clean Your Tools: Clean your putty knife and other tools immediately after use with water.
- Store Properly: Store the filler in a cool, dry place to prevent it from drying out.
- Avoid Over-Sanding: Be careful not to over-sand the filler, as this can create a depression in the surface.
- Use a Primer: Always use a primer before painting or staining to ensure proper adhesion and a uniform finish.
- Consider the Grain: When repairing larger areas, try to mimic the wood grain with the filler for a more natural look.
Troubleshooting Common Issues
Even with the best techniques, you may encounter some challenges when working with acrylic wood filler. Here are some common issues and how to address them:
- Cracking: Cracking can occur if the filler is applied too thickly or if it dries too quickly. To prevent cracking, apply the filler in thin layers and allow it to dry slowly.
- Shrinkage: Some shrinkage is normal with acrylic wood filler, but excessive shrinkage can create a depression in the surface. To minimize shrinkage, apply the filler in thin layers and allow it to dry completely before sanding.
- Poor Adhesion: Poor adhesion can occur if the surface is not properly prepared. Be sure to clean and sand the surface before applying the filler.
- Difficulty Sanding: If the filler is difficult to sand, it may be too dry or too hard. Try sanding it with a coarser grit sandpaper or moistening it slightly before sanding.
Acrylic Wood Filler vs. Other Types of Wood Fillers
While acrylic wood filler is a great choice for many projects, it’s important to understand how it compares to other types of wood fillers. Here’s a brief overview:
- Epoxy Wood Filler: Epoxy fillers are known for their strength and durability, making them ideal for structural repairs. However, they can be more difficult to work with than acrylic wood filler and may require specialized tools.
- Latex Wood Filler: Latex fillers are similar to acrylic wood filler in terms of ease of use and water-based formula. However, they may not be as durable or flexible as acrylic wood filler.
- Solvent-Based Wood Filler: Solvent-based fillers offer excellent adhesion and durability, but they contain high levels of VOCs and can be difficult to clean up.
- Cellulose Wood Filler: This type of filler is made from wood fibers and resins. It’s easy to sand and stain, but it may not be as durable as other options.
Ultimately, the best type of wood filler for your project will depend on your specific needs and preferences. Consider the type of repair you’re making, the desired finish, and your skill level when making your choice.
The Future of Wood Repair: Acrylic Wood Filler’s Role
As sustainability and ease of use become increasingly important, acrylic wood filler is poised to play an even larger role in the future of wood repair. Its low-VOC formula, ease of application, and excellent performance make it a compelling choice for both DIYers and professionals. Ongoing advancements in formulation and technology will likely lead to even more versatile and durable acrylic wood filler products in the years to come. [See also: Best Wood Fillers for Furniture Repair]
Conclusion
Acrylic wood filler is a valuable tool for anyone working with wood. Its flexibility, adhesion, and ease of use make it an excellent choice for a wide range of repair projects. By understanding its benefits, applications, and best practices, you can achieve professional-looking results that will enhance the beauty and longevity of your woodworking projects. Whether you’re filling nail holes, repairing cracks, or preparing surfaces for painting, acrylic wood filler is a reliable and versatile solution that will help you achieve a flawless finish.

